Pool roofing installation
Installation Instructions
Pool roofing installation can be carried out by an average skilled user. Installation should be performed at least by two people.
It is preferable to carry out the installation of roofing / cover outside the pool area (destination). You can easily assemble construction, fix and stretch the foil from the inner side. Three people can easily move the roofing in the open state to the destination – two at articulated hinges and one in the middle (top of the roofing).
For installation you need spanners no. 13 and no. 11, which are not part of delivery.
Do not carry out installation in windy weather.
Step 1
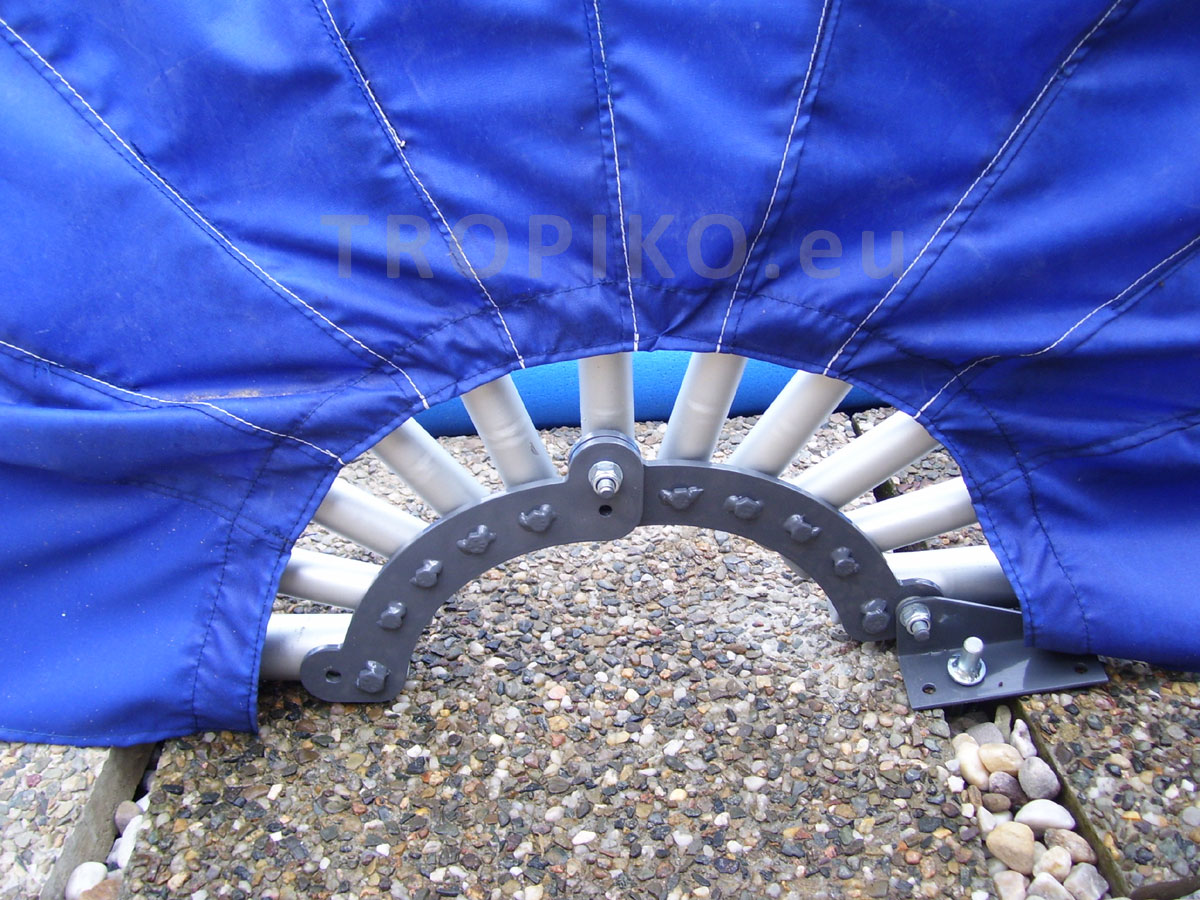
Fasten the hinge segment to the ground so that threads of the hinge thorns are directed to the pool. The loose end of the segment (not attached to the ground) will be directed to the side from which you will open the cover. To fix the hinge mechanism use dowels or at least attached spikes according to the nature of the ground.
 Step 2
Fasten the second hinge segment to the ground in the same way as the first one at a distance from the first segment, which corresponds to the diameter of your roofing.
Step 3
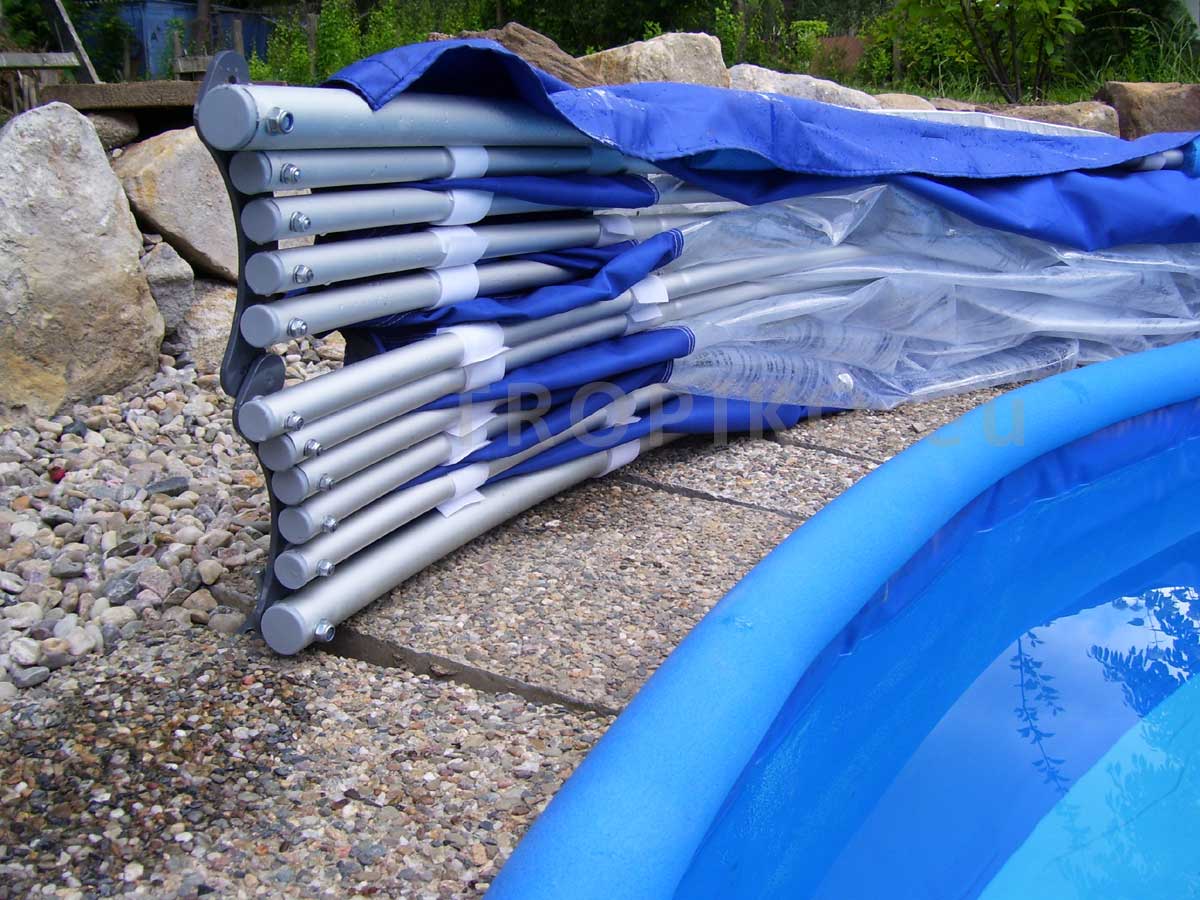
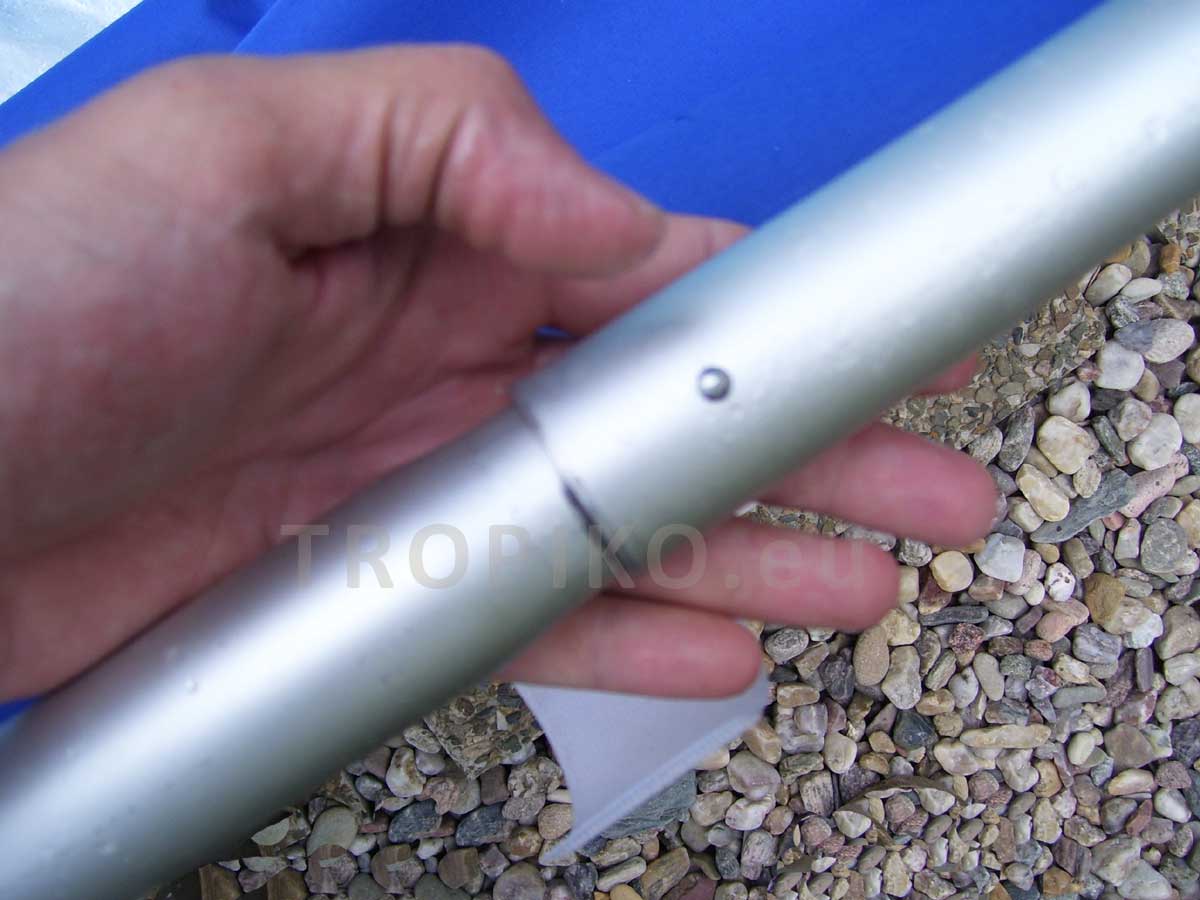
The roofing consists of eleven arches. Tubes to assemble each arch are packed separately. Assemble arches gradually, sliding tapered ends together until they snap into place. The first and the last arch (those, when the cover is closed, lie on the ground) are made of thicker tubes.
Step 4
Fit plastic plugs into the ends of all arches. Fit each end of the arches gradually on the screws of the hinge segment so that a plastic ring (washer) goes the first and then slip the arch, and then secure a metal washer by a nut, which will be lightly tightened.
When the arches are assembled leave them lying on each other (crescent-shaped).
Step 5
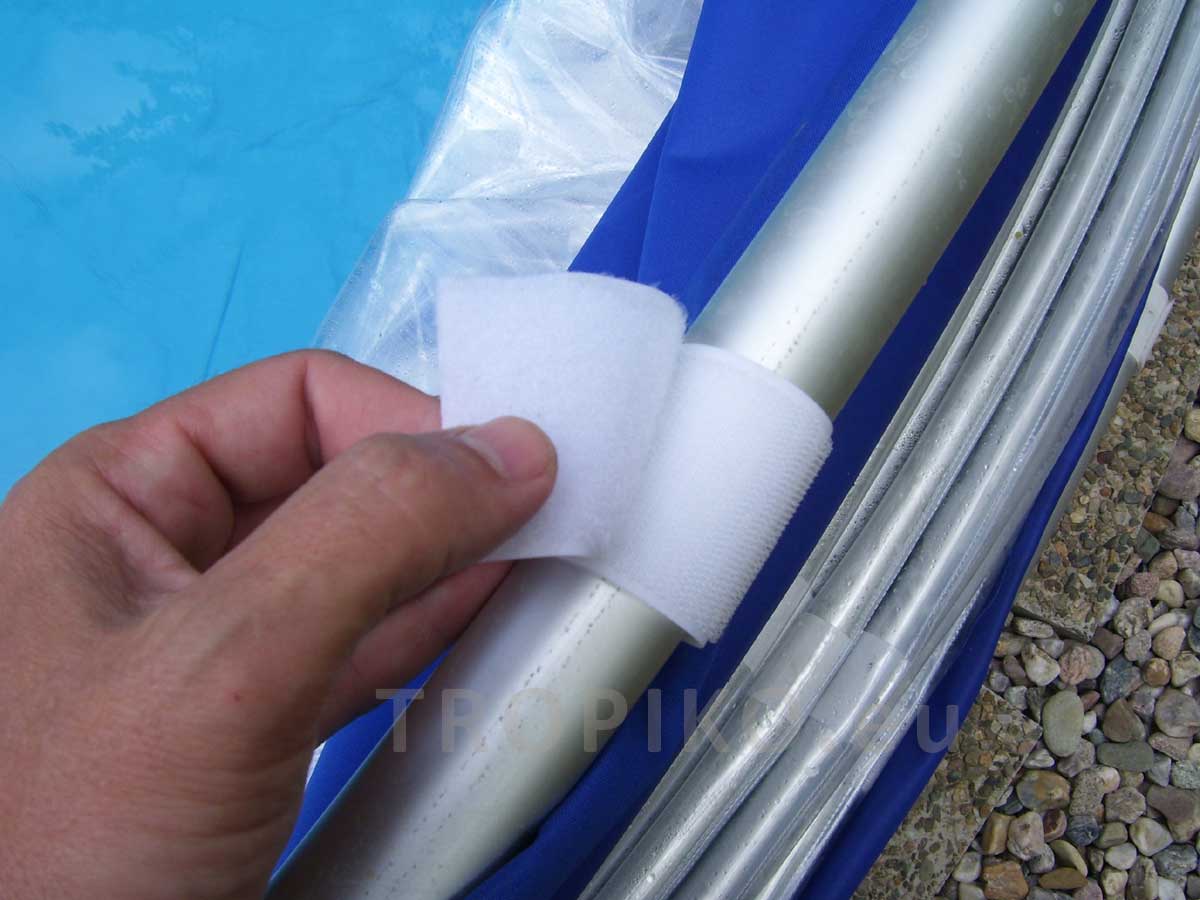
Outside the roofing unfold the covering around the assembled arches and fasten it gradually by velcro straps to individual arches. Do not fasten velcro straps on the ends (at hinged segments) yet.
Step 6
Before gradually closing the roofing, make sure that the covering is evenly stretched on individual arches. Wrinkles mustn’t be formed diagonally acros the arches. When closing the roofing pull down the covering towards the hinge segments. Fasten the last velcro straps.
Step 7
Triangular rubber grips serve to fix the attached rubber ropes that are to secure the cover/roofing against adverse weather conditions outside the period of use of the pool.
To stretch rubber ropes you can use the supplied anchors or other handles, which you fix tightly to the surface or the ground under the sewn triangular handles.
Notes:
For free standing or semi inground pools do not forget the space for the filtration wiring.
Hoses for filtration can be pulled through the middle of the hinge segment if the hoses are additionally protected.
With roofing it is not necessary to buy a solar bubble foil on the water surface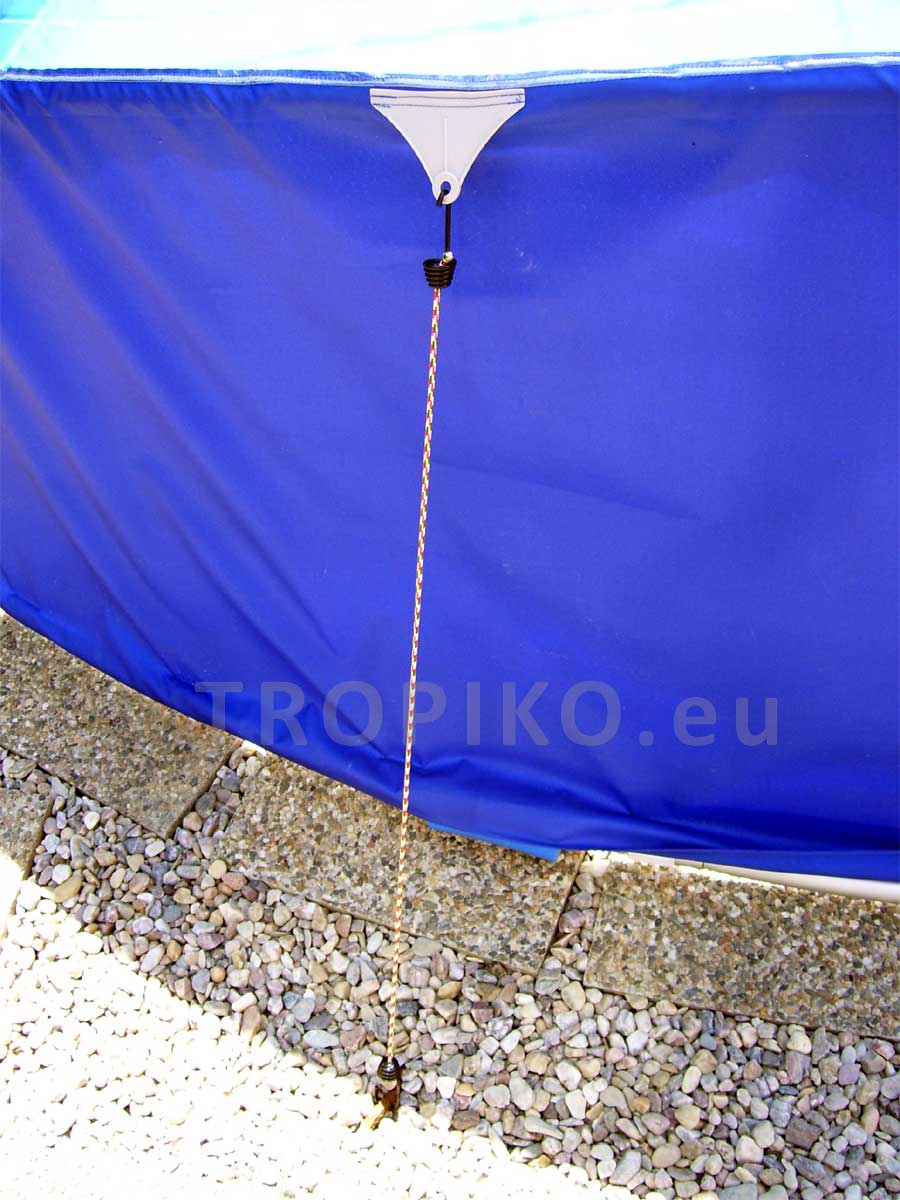 .
.
Warning:
It is possible to keep the roofing closed outside the swimming season. Winter months are exception because heavy snow loads could cause mechanical damage to the aluminium construction and the entire roofing. Leave the roofing open in winter.
Do not handle the roofing at temperatures below freezing, a transparent foil could be damaged.
Download document in PDF format.